
Installation of DCU
You can download the latest version of the software from the following link: Dell Command | Update (Version 2.4.0, July 2018). Or search for the file within the Drivers & downloads section and the Systems Management category for your computer at Dell Support Website / Drivers & Downloads.
Download the latest version then Double-click the file, Then click the INSTALL button on the Dell Update Package screen (Figure 1).
 NOTE: You will be using the most current version of the application. The images below may indicate previous versions but the installation process should remain the same.
Figure 1. - Dell Command | Update Install screen.
Click YES to the User Account Control (UAC) prompt then click Next on the Dell Command Update setup screen.
Accept the License Agreement then Click Next to continue installation (Figure 2).

Figure 2. - Accept License Agreement and continue.
Click the Install button to continue (Figure 3).

Figure 3 . - Click Install to begin installation.
When the installation wizard is complete, click the Finish button (Figure 4).

Figure 4. - Click Finish after the installation completes.
Close the Update Package window. And the installation is complete (Figure 5).
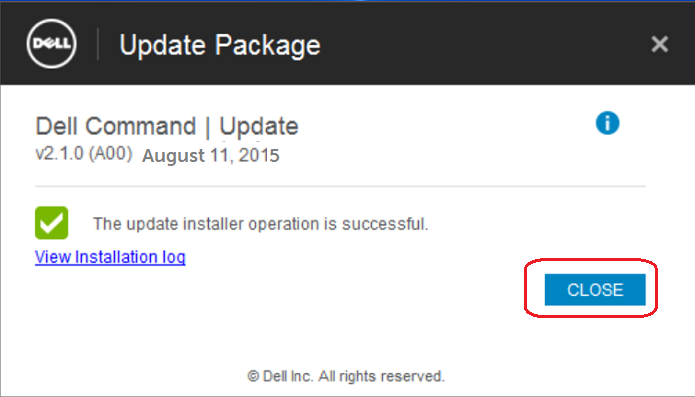
Figure 5. - Click Close to finish the full installation process of Dell Command | Update.
How to use DCU
You will now find the Dell Command Update application listed on your applications or all programs menu (Figure 6).

Figure 6. - Location of Dell Command Update in Apps menu.
Double-Click Dell Command Update to open. It is recommended you select the Default settings, then Click the OK button (Figure 7).

Figure 7. - Choose default settings and click OK to open the Dell Command | Update applicatoin.
Click the Check button to allow DCU to interrogate your system and identify any needed updates for the system (Figure 8).

Figure 8. - Perform a Check for driver updates.
Depending on how current your system is, you may have several updates, or like in this case a single update. Check the Recommended Updates and Check Automatically restart system (when required) Then click the Install button (Figure 9).

Figure 9. - Click Install to begin installation of recommended updates.

Figure 10. - Customization screen for manual install of driver updates.
Once all the updates are installed (there may be multiple restarts) click the Close button (Figure 11).
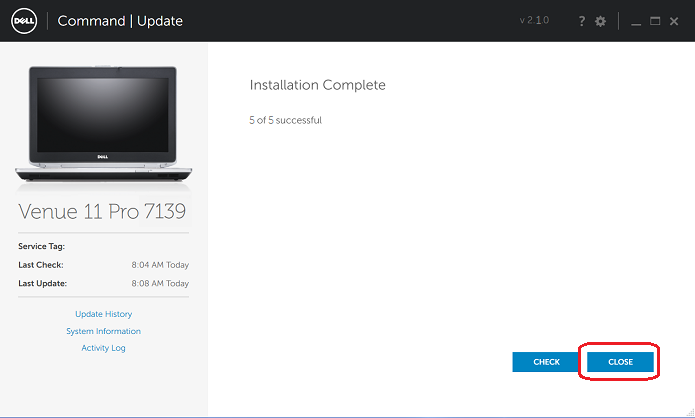
Figure 11. - Click Close after updates have installed and system finishes rebooting.
Your system should now be up to date.
On the left side of the main screen "Update History" can be checked to verify which updates have been installed by date (Figure 12).

Figure 12. - Update History screen with report of recent updates.
You can use the settings icon (small gear icon along the top right hand corner) to set up a schedule to help keep the system updates on a continuous basis (Figure 13).
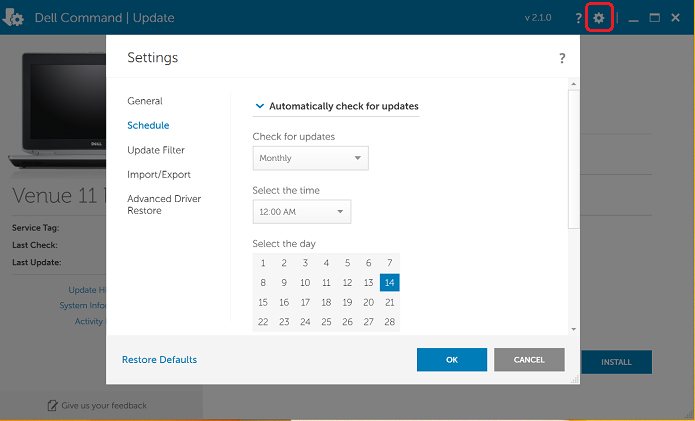
Figure 13. - Set schedule for updates.